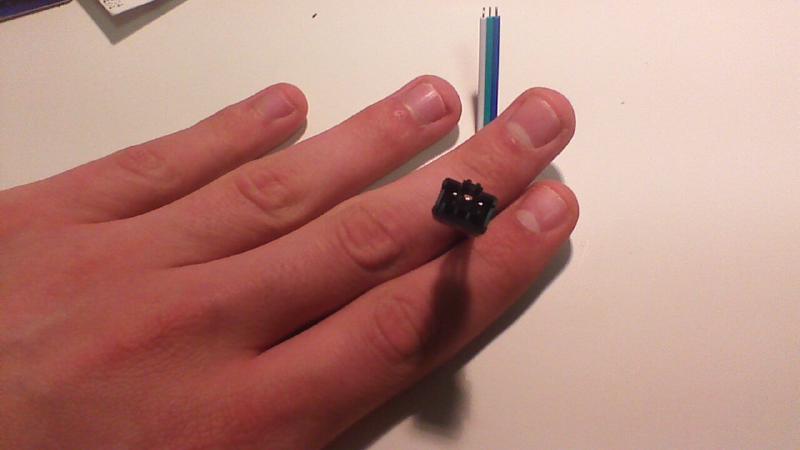
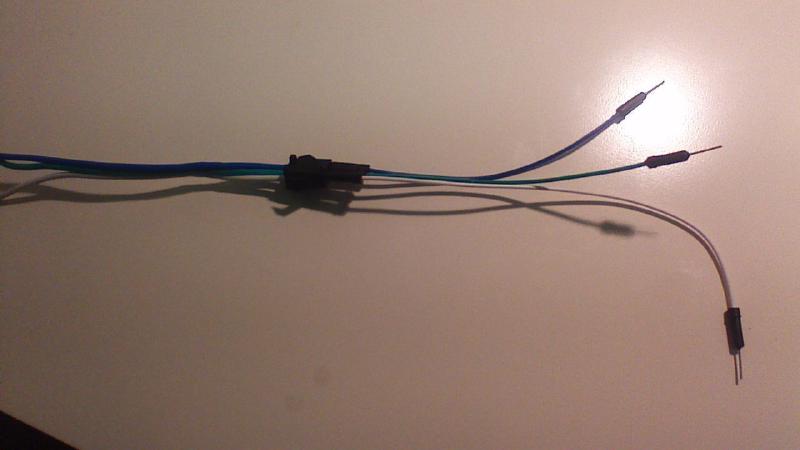
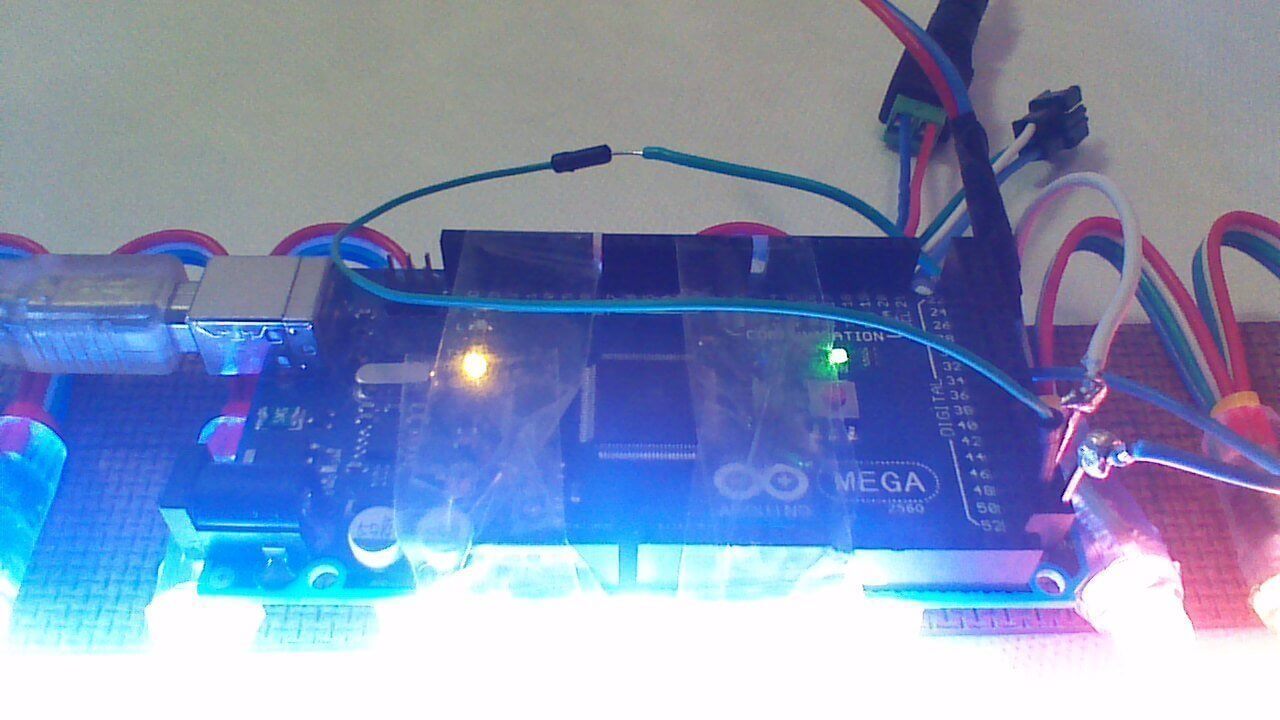
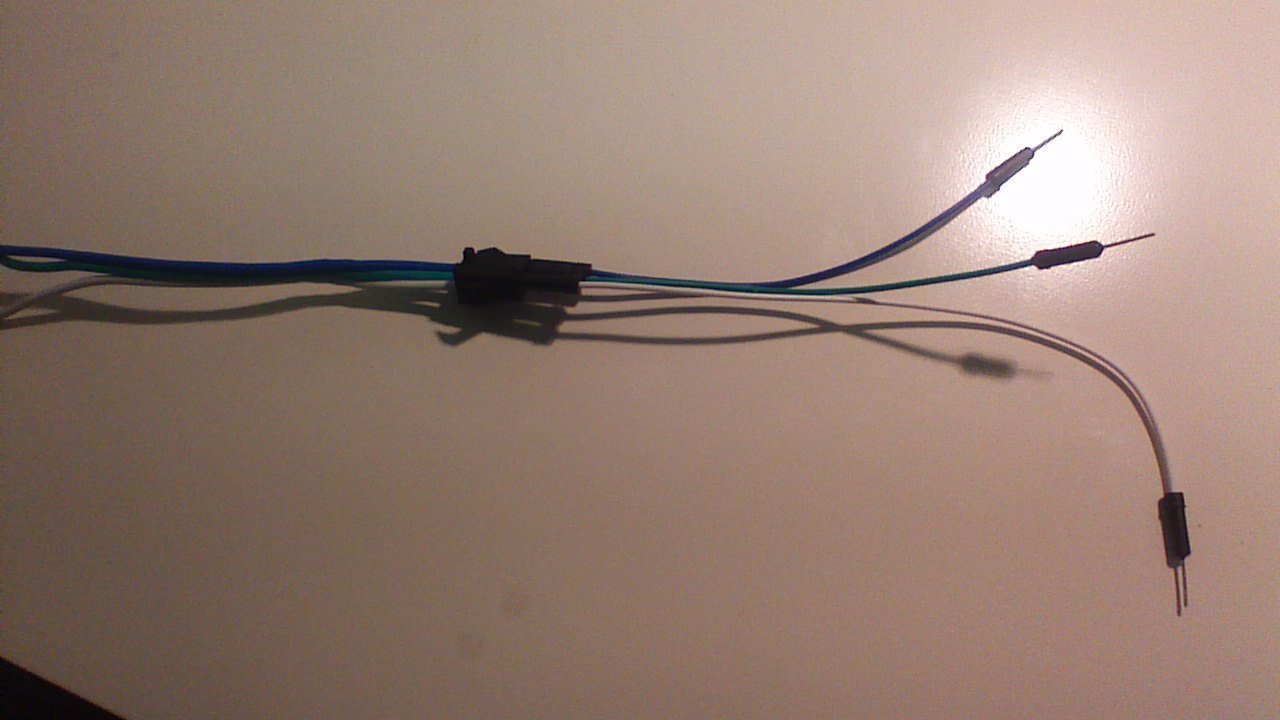
We take the male end of the LEDs (the one with the three pins) and one of the power adapters, (the one that is female)
Male pin
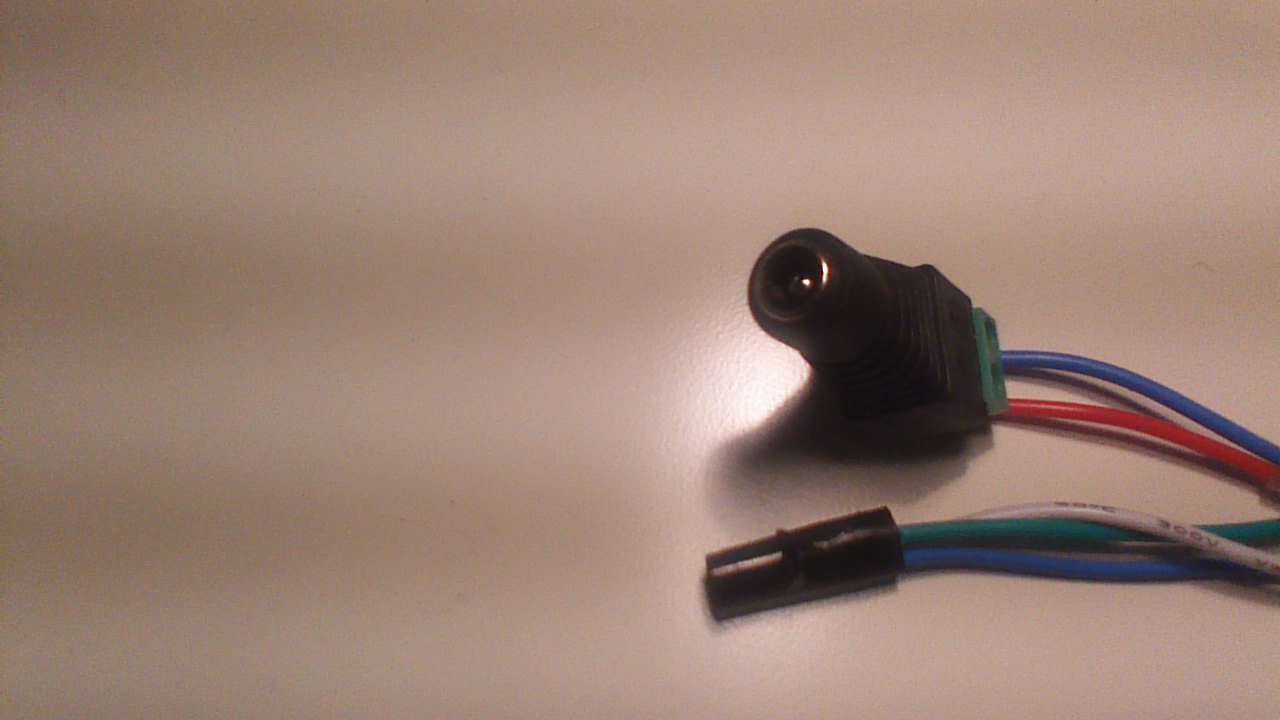
We connect the red wire to the positive (+) and the blue to the negative (-), which are outside the connector, by tightening the screws with a screwdriver
Mounted connector
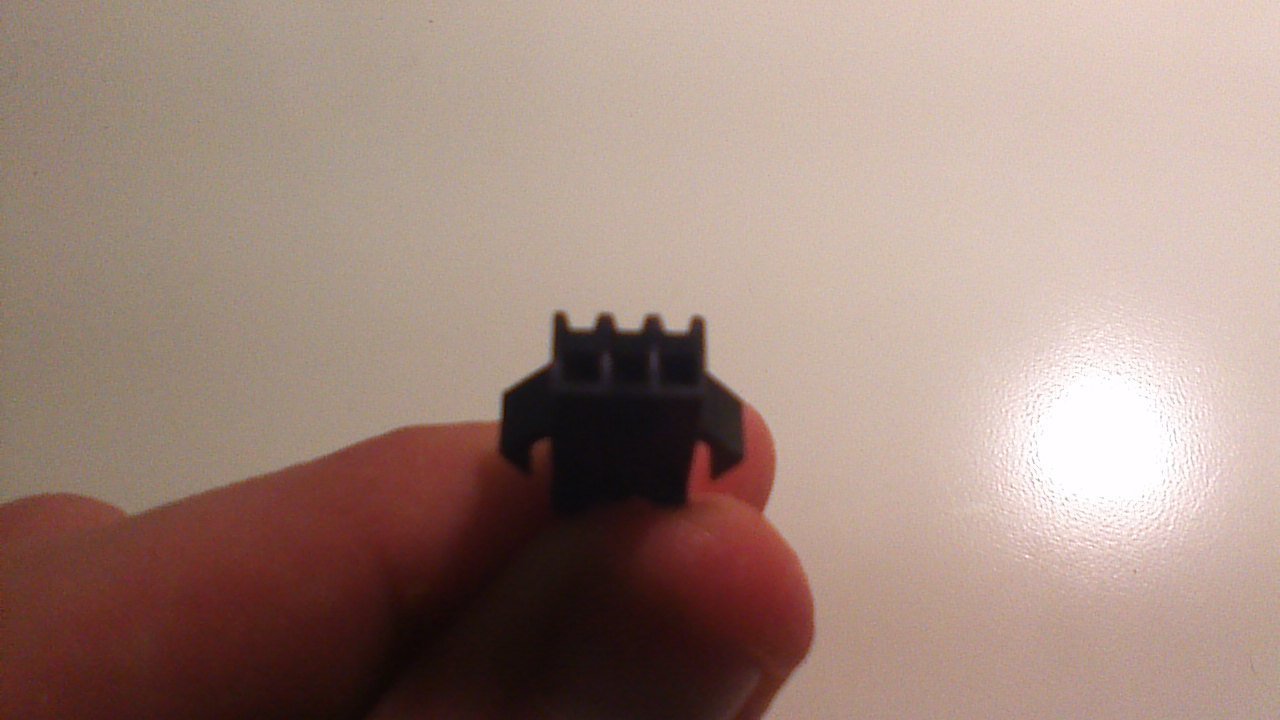
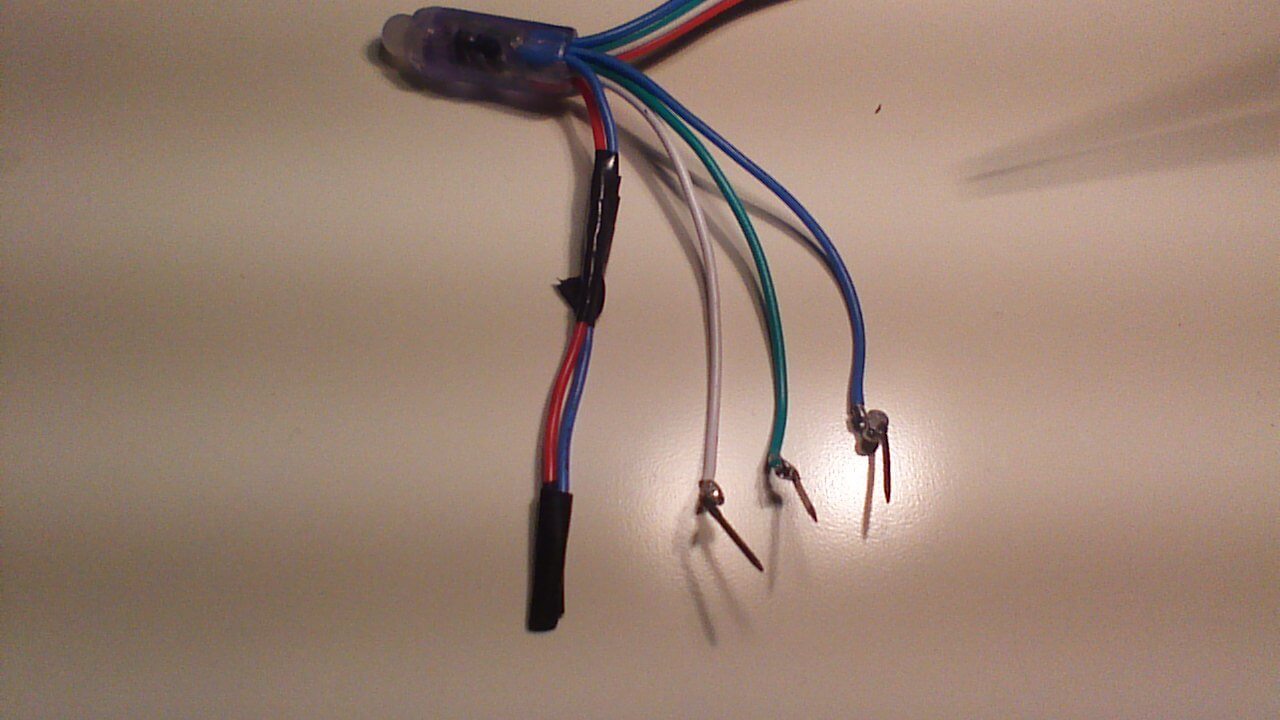
We take the female end
Female connector
We will insulate the red and blue wires, which are outside the female end connector with electrical tape, for example.
If jumpers are available
We’ll connect three of the jumpers at their end. Connector+ jumpers
If you have thumbtacks
We break the thumbtacks and keep the ends
Cut next to the female connector and strip the cables a little, fan them open and turn.
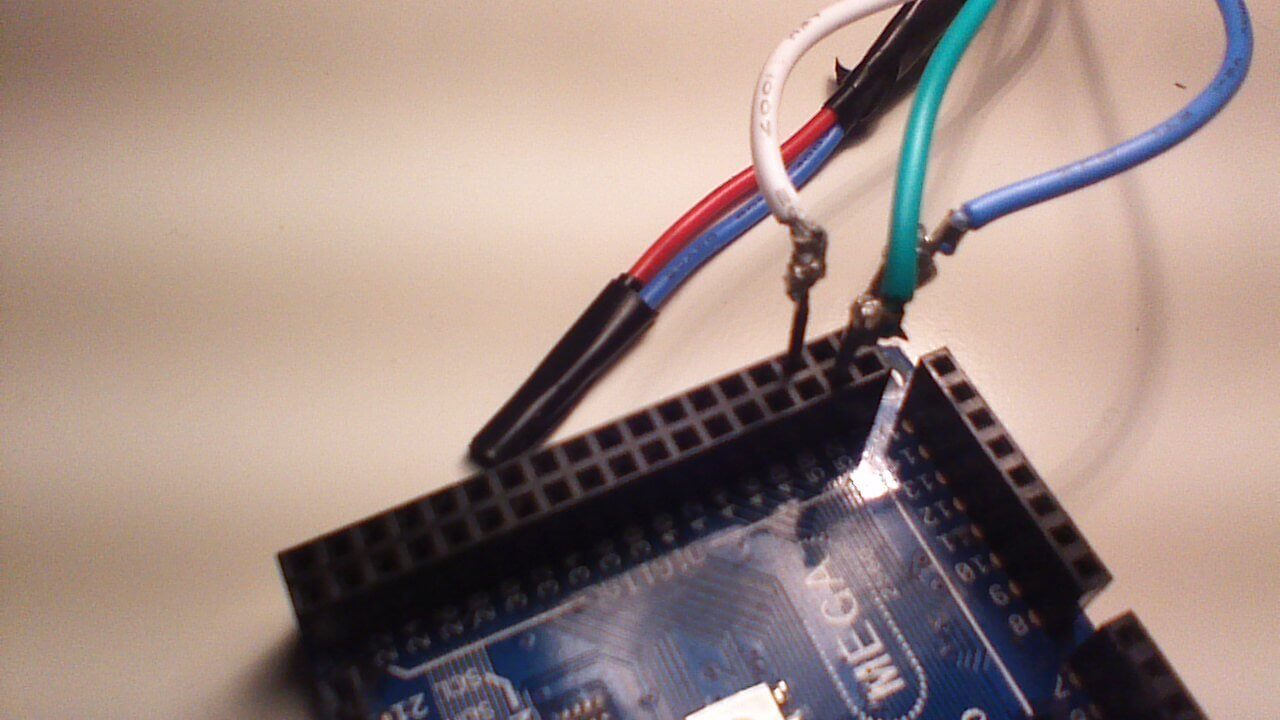
/////////////////////////// PARA ARDUINO MEGA ////////////////////////

Amarillo/Blanco: 51
Verde: 52
Azul: GND

(Se sitúan en la parte opuesta al conector para USB)

////////////////////////// PARA ARDUINO UNO (No probado)///////////////////////////
Amarillo/Blanco: 11
Verde: 13
Azul: GND
We connect the power adapter to the end of the Led cable, which has the female power connector, which we have added
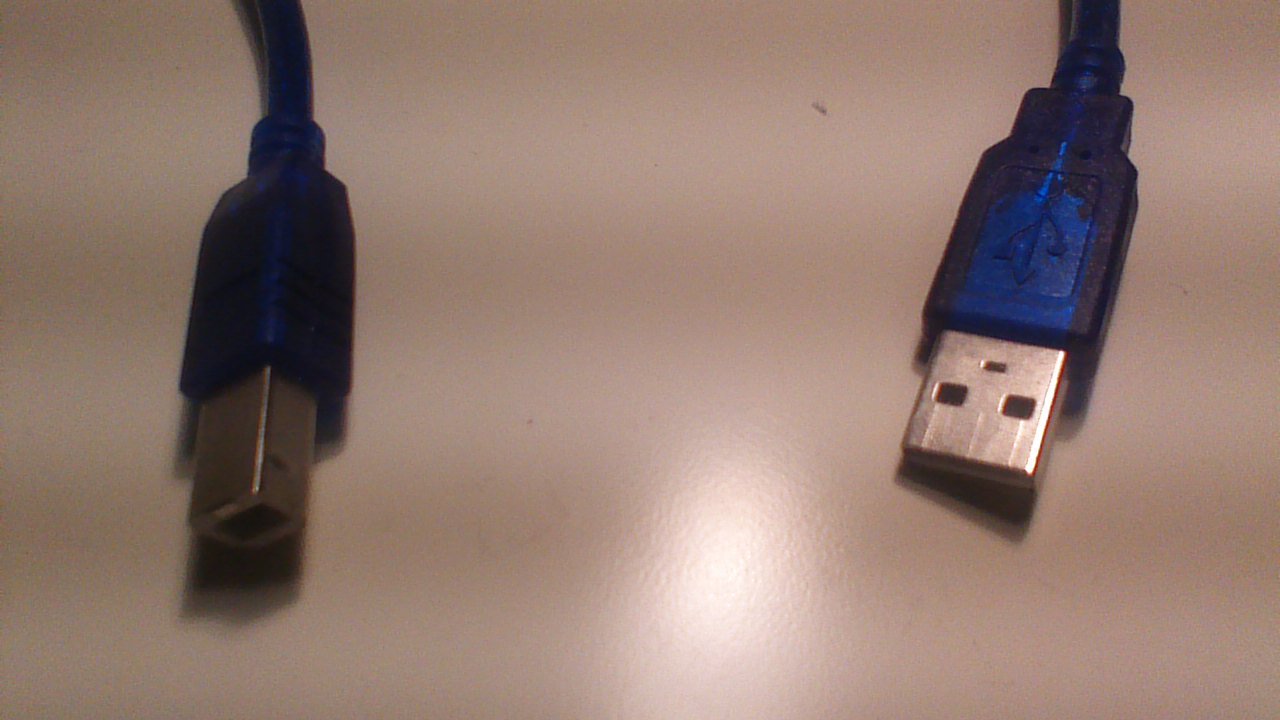
Connect the arduino to the PC Ubuntu using a USB cable (With the cable that comes with us)
Cable USB
We already have everything connected!
Arduino full connected
NOTE: Don’t panic if your LEDs don’t light up yet, if you carefully remove and reattach the adapter you’ll see a slight flash or an LED on.
Until next part
Good and cheap homemade ambilight -
This article is part of a series.