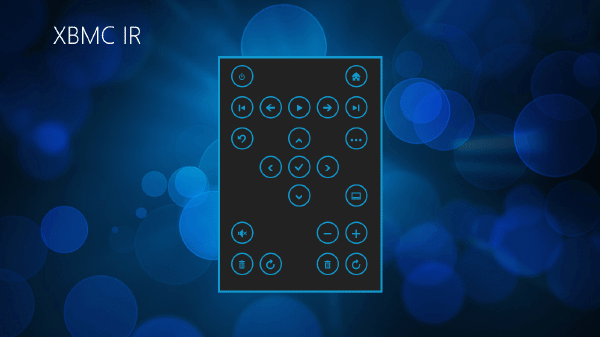

With the new version of XBMC 12 Frodo the possibility of using XBMC as a PVR client is introduced.
Below we will see how to install this in an XBMC on Ubuntu for DVB-T DTT systems as is the case in Spain.
What is it for?#
- Watch TV Streaming from anywhere
- View the programming guide
- Schedule automatic recordings
- Filtering
- Control Parental
- Timeshift -> pause, fast forward and backward while watching TV. Without going over time to the current broadcast. Magic doesn’t :P
- Instant recordings.
All this from the web or from XBMC.
If you want to access from the internet (outside the network, it will be necessary to open ports 8091 and 8092) and a fixed ip or domain dyndns etc.
Requirements#
- DTT tuner € 8,66 (shipping costs and VAT included)
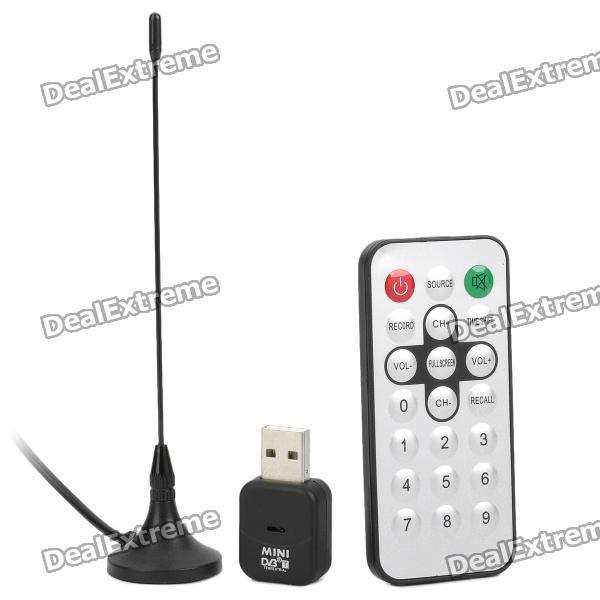
- Linux with XBMC installed
Steps#
Open a terminal
#sustituye stable por unstable > beta > stable según lo que desees
sudo apt-add-repository http://apt.tvheadend.org/stable
sudo apt-get update
The GPG should be installed with
curl http://apt.tvheadend.org/repo.gpg.key | sudo apt-key add -We install, provide username and password and with this we would have the PVR backend installed
sudo apt-get install tvheadendNow we will have two methods to update our Linux system to be compatible with this type of interfaces.
Part 1#
It consists of updating v4l (Video for Linux), a whole set of tools not included in ubuntu by default that will allow us to control everything related to video devices, capture cameras, webcams, etc.
To do this, we enter the following commands in a terminal
sudo apt-get install linux-source
sudo apt-get install patchutils libproc-processtable-perl build-essential git-core linux-headers-`uname -r`
cd /usr/src
sudo git clone git://linuxtv.org/media_build.git
cd media_build
sudo ./build
sudo make install
Part 2 (Only valid for devices with the chipset of devices such as the one in the header#
cd ..
wget https://raw.github.com/torvalds/linux/master/Documentation/dvb/get_dvb_firmware
sudo ./get_dvb_firmware it9135
sudo dd if=dvb-usb-it9135-01.fw ibs=1 skip=64 count=8128 of=dvb-usb-it9135-01.fw
sudo dd if=dvb-usb-it9135-02.fw ibs=1 skip=12866 count=5817 of=dvb-usb-it9135-02.fw
sudo cp dvb-usb-it9135-0* /lib/firmware/
We restart and with all this we will proceed to configure the PVR backend
We access via browser with http://IP_LAN_PC:9981/
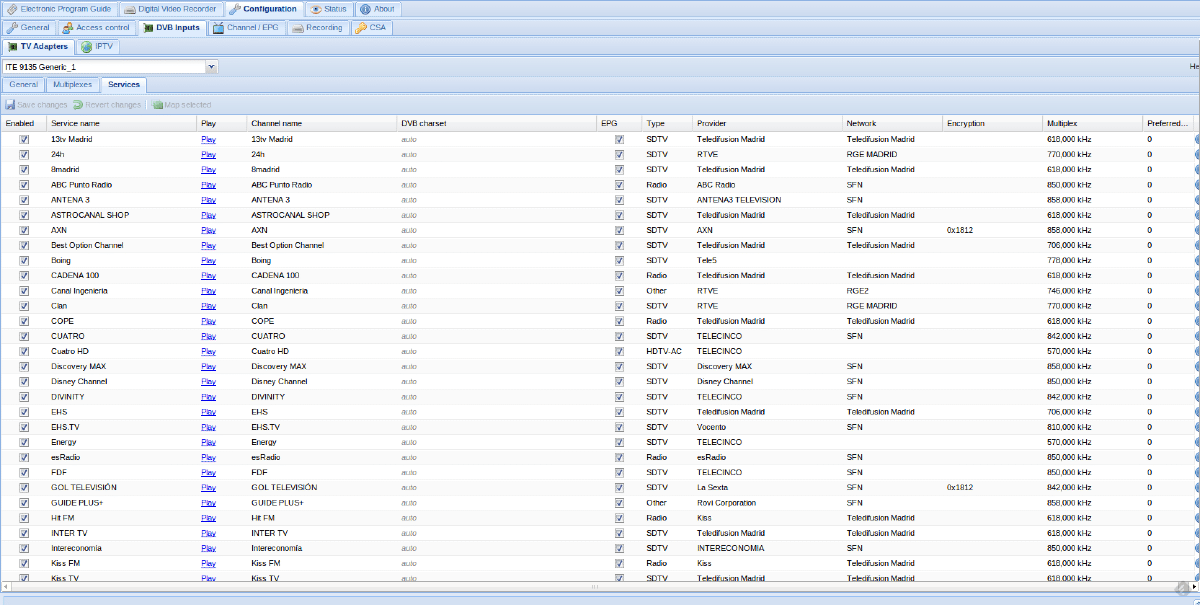
Configuration -> DVB Inputs -> Select the adapter -> Add DVB Network by location… -> Select your country and city.
Once the scan is finished (waiting a little while, when you see that all the channels you want are there) -> Map DVB services to channels… Since in Spain the channels are received as services
We move on to the XBMC configuration#
We install the XBMC plugin if it isn’t
sudo apt-get install xbmc-pvr-tvheadend-htsGo to System -> Addons -> We look for the PVR Tvheadend -> addon We activate it
We configure username and password
Done!
Now we just need to do some research on the XBMC options and the web interface. To discover many cool things.
Wise note#
To check that the device is detected, you can use the
dmesg | grep -i dvbUpdate 28/05/2013#
Point 2 has been updated since the official website incorrectly specifies the url
Broadcasting through the browser is only available if we use a server with anonymous access, that is, anyone can see our channels through the internet. P.S. It can be limited by IP, of course, and we could have a tunnel that connects our network and in this way we could secure it.
Steps#
- Settings -> Access Control -> create a new user
- Activate the account and give it the permissions we want.
Another day I will show you how to do it. :P